Standing Rock Caves Trail
We have now hiked this trail in every season and this is still my favourite hike around Collingwood. This hike combines the blue-blazed Standing Rock and Singhampton Side Trails with the white-blazed main Bruce Trail. In this section, each blue-blazed side trail leads you back to the main Trail, and each junction is signed.
Directions
Here are the directions to get there. Once you arrive, you can park along the side of the road and walk in as there is only parking for two or three cars in the ‘parking lot’.
About the hike
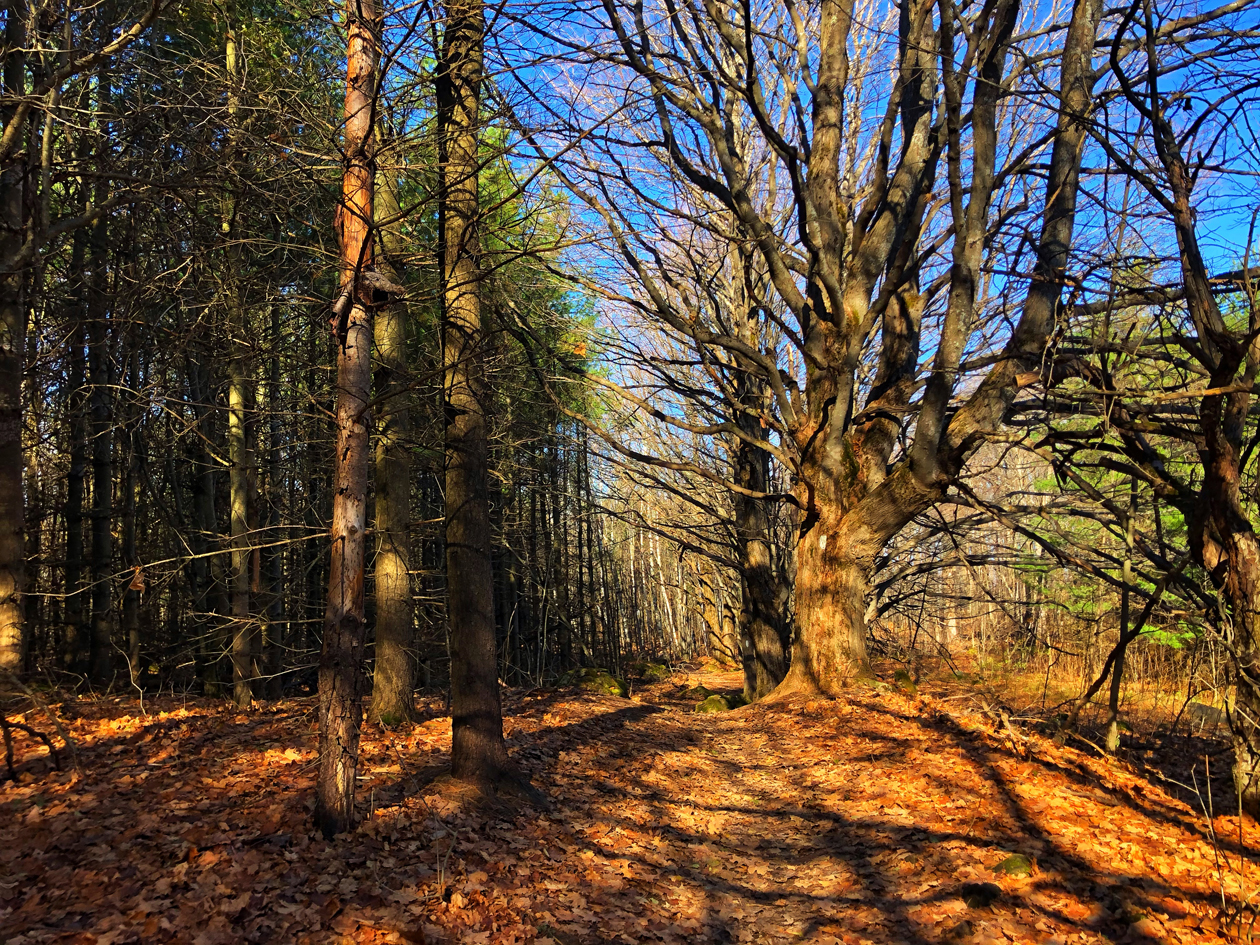
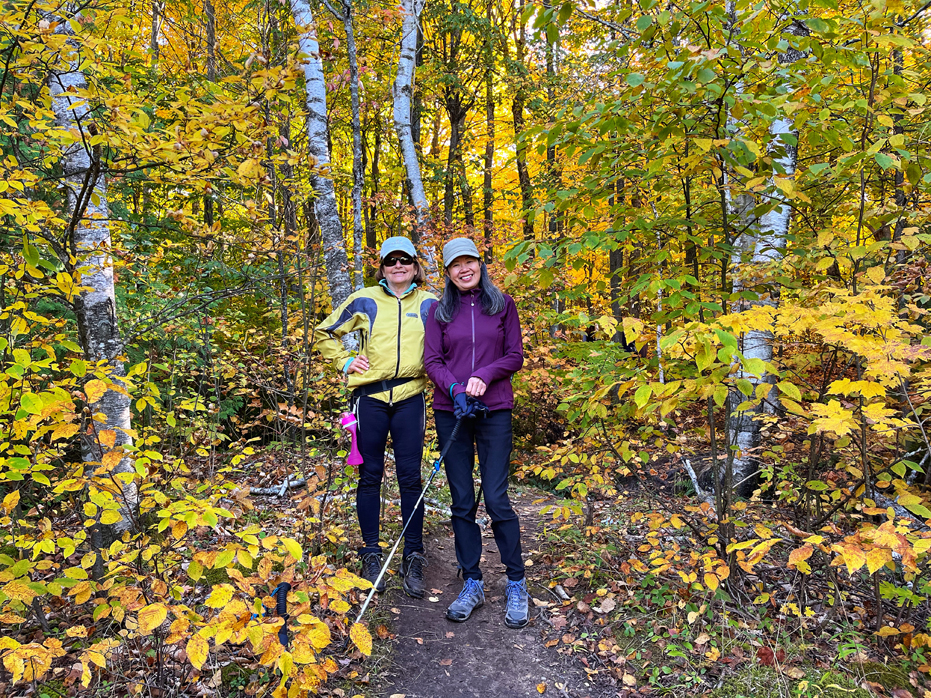
Once on the trailhead, we take the trail to the right, which leads to the forested beauty of the Pretty River Valley; its mature deciduous forest are especially beautiful in the fall. The edge of the Niagara Escarpment is cut here with narrow, deep crevices, and you will eventually clamber through the tight fissures of the Standing Rock Caves.
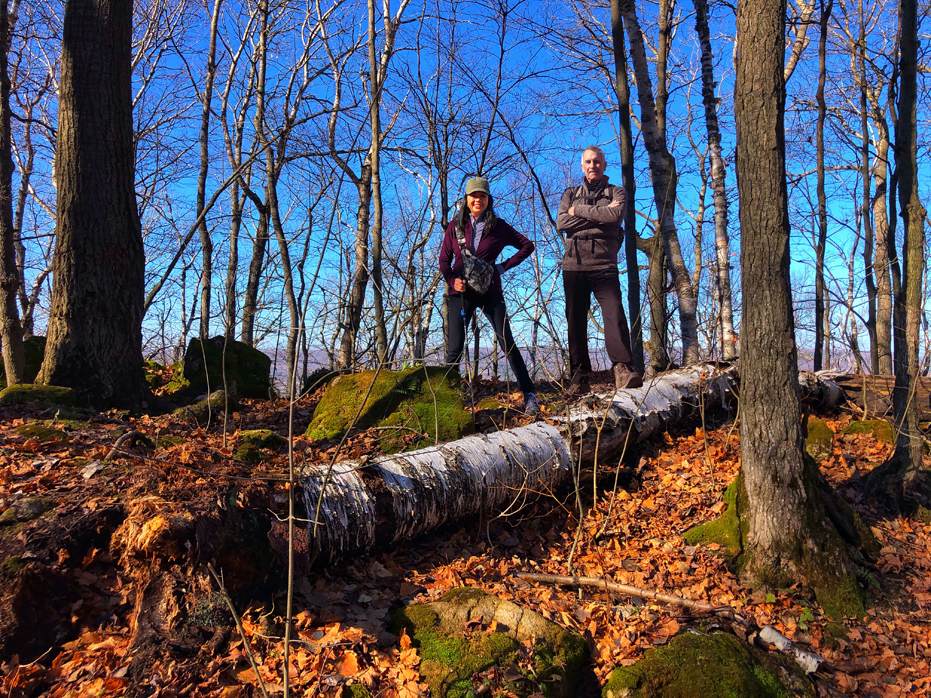
About ten to fifteen minutes into the hike, there is a section which is quite lovely and features mature older trees, which you will walk through and a grove of spruce and pine trees across the way. It’s a beautiful quiet section that somehow feels like it was purposefully planted but who knows. It is strewn with large boulders covered in mosses and lichen and has always felt serene to me.

After passing this section, the trail leads through a simple forested section for about ten to fifteen minutes until you come to a T in the trail. At this point, you are about 1.1 miles into the hike.
This is simply a T along the Bruce Trail. Turn left here and you will be hiking along the escarpment and towards the Standing Rock Caves side trail. The trail does get a little rocky in this section with several old fallen trees in sections along the path here and there is a definite slope to the trail. Watch your footing through this section.
Within five to ten minutes, depending on how much you are enjoying the hike, you will come to a section which starts to descend into a ravine. You will see a blue blazed T on the tree in front of you. Here you need to turn to the right and continue downwards through a fairly treacherous ravine section of trail.
It is much tougher to hike down after you have made the turn in the summer than in the winter. I suggest you have hiking poles for this hike. When the trail is covered with snow, it is much more forgiving here as there are hundreds of stones and a few boulders that dot this section of the trail path in the spring, summer and fall months, which serve to make the path just a little more difficult. Be careful.
There are several little side flat spots on this section as you go down, if you want to take a break.
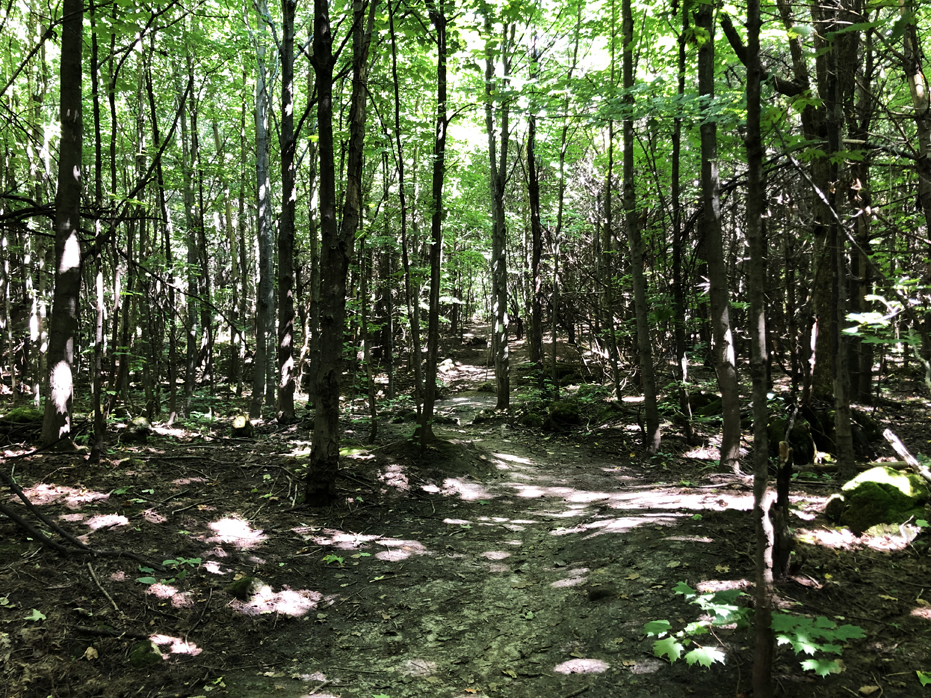
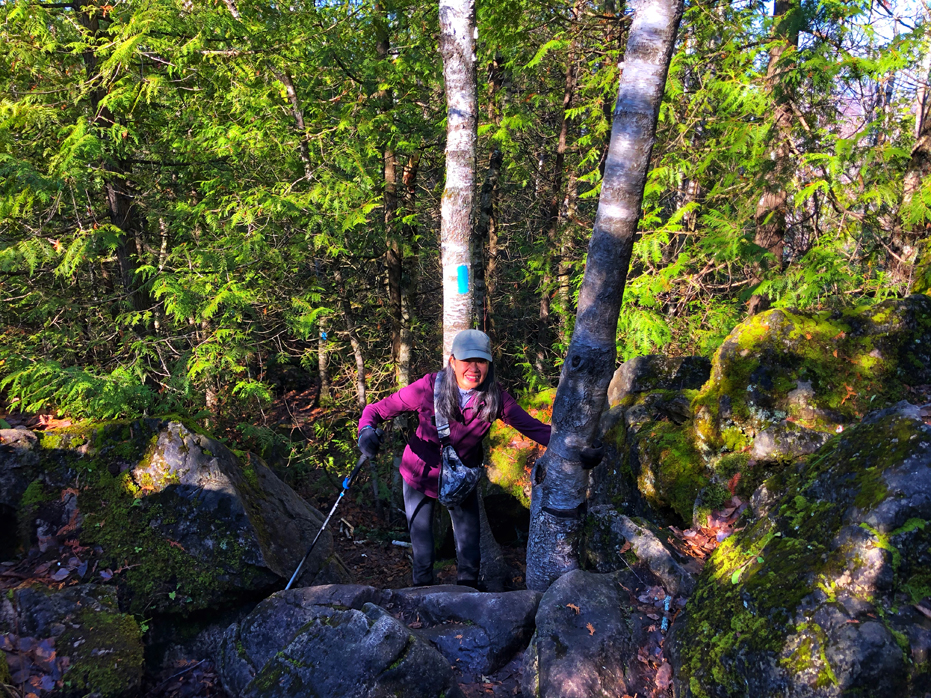
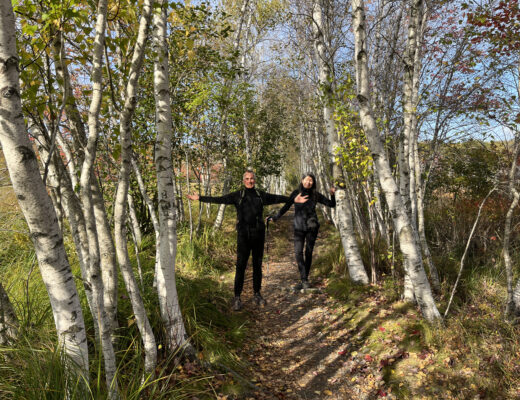
Once down the ravine, you will come into a very quiet section of forest with a lot of birch trees. In the late summer, this section is unbelievably green. Continue along here for five to ten minutes. I say five to ten because I never know if people visiting this trail are like me, who stops every minute to take a photo.
Shortly, you will see a sign market Standing Rocks Caves Side Trail. Turn left there.
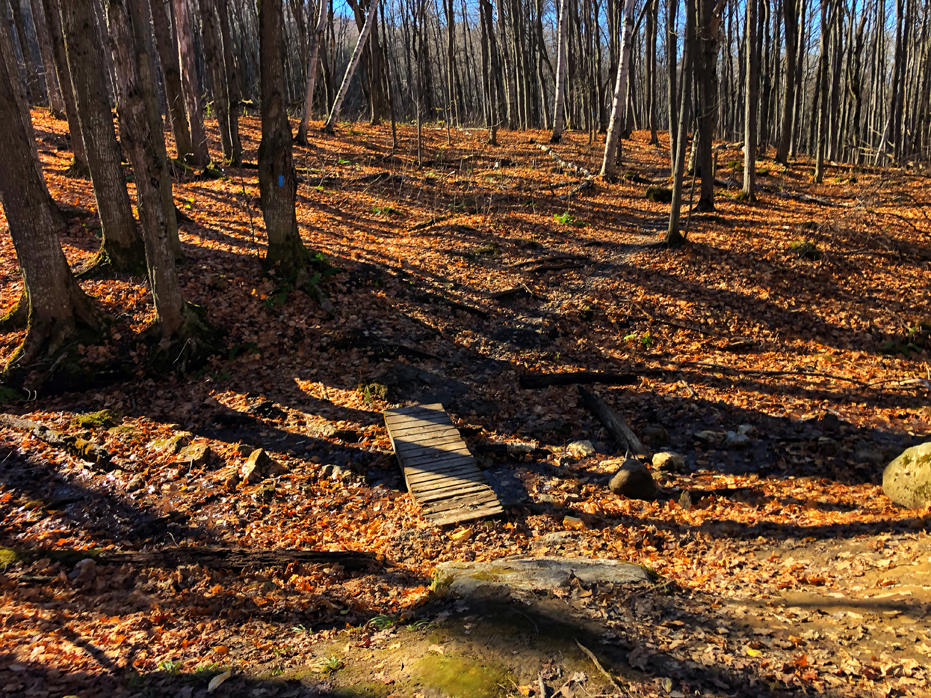
From here, you will be heading downwards for a bit until you reach an old wooden bridge, which crosses a stream.
After crossing the bridge, you will start upwards towards the escarpment and into a clutch of beautiful older birch trees. Many of these have fallen and you may have to step over at least one as you continue upwards.
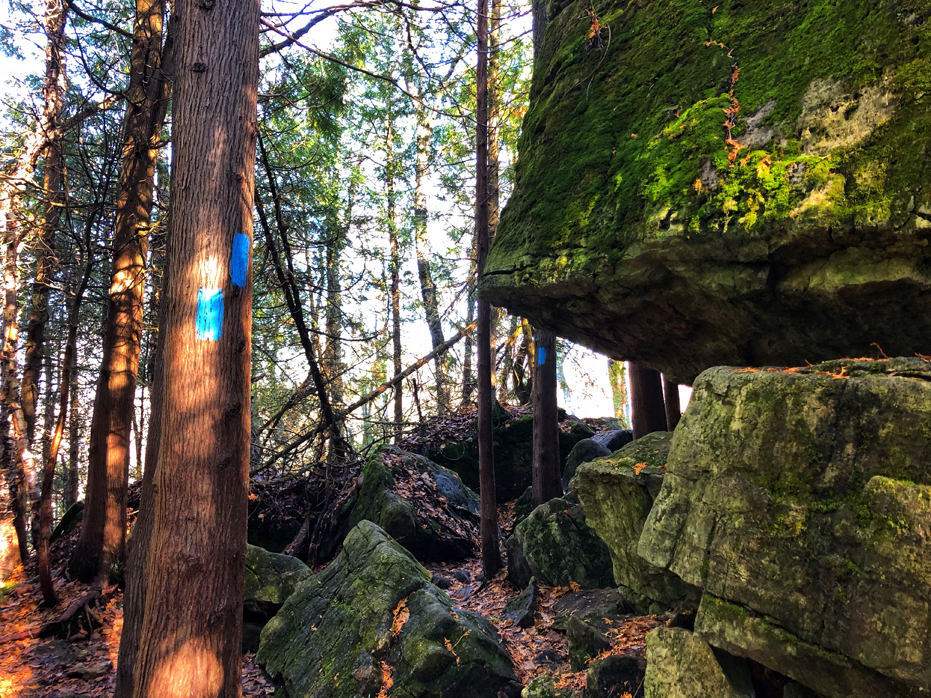
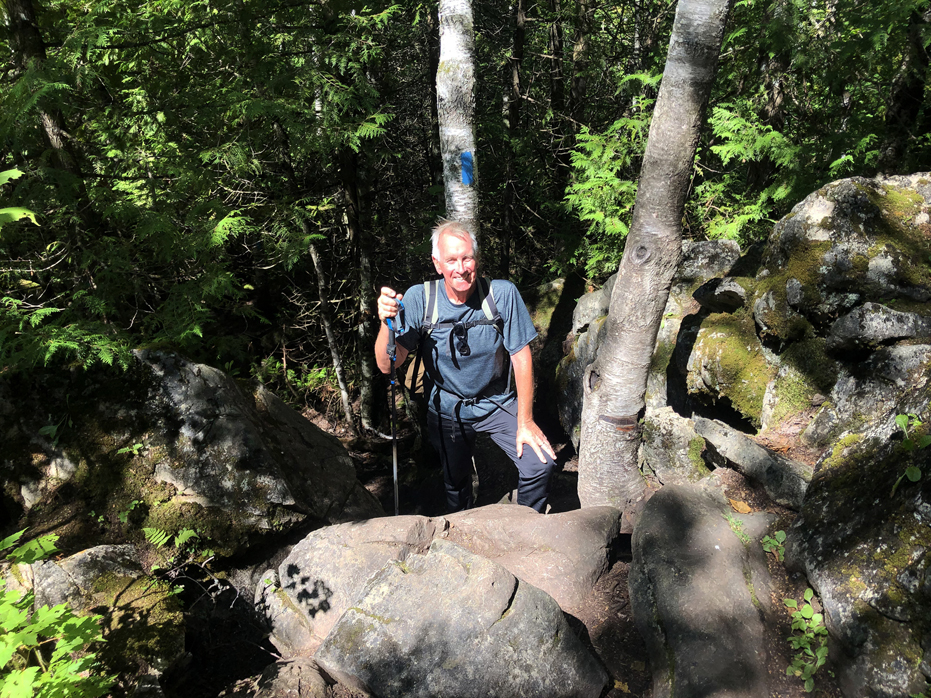
The incline continues to increase until you come to what seems like a pile of big rocks scattered across the path. Don’t let this fool you. This IS the path. You now have to start hiking with a side order of climbing and clambering.
Get used to this for the next little while and be prepared to take as many breaks as you need to. You will come to a flatter section with a gigantic square boulder which seems to be right above your head. It is.
After you pass this section, the path veers to the left and continues upwards. Trust me, it does not get any easier. It narrows and the steps from rock to rock seem to get a little longer and further apart. This is not a hike for small children.
In the winter, we use our crampons, which makes the hike and climb MUCH easier.
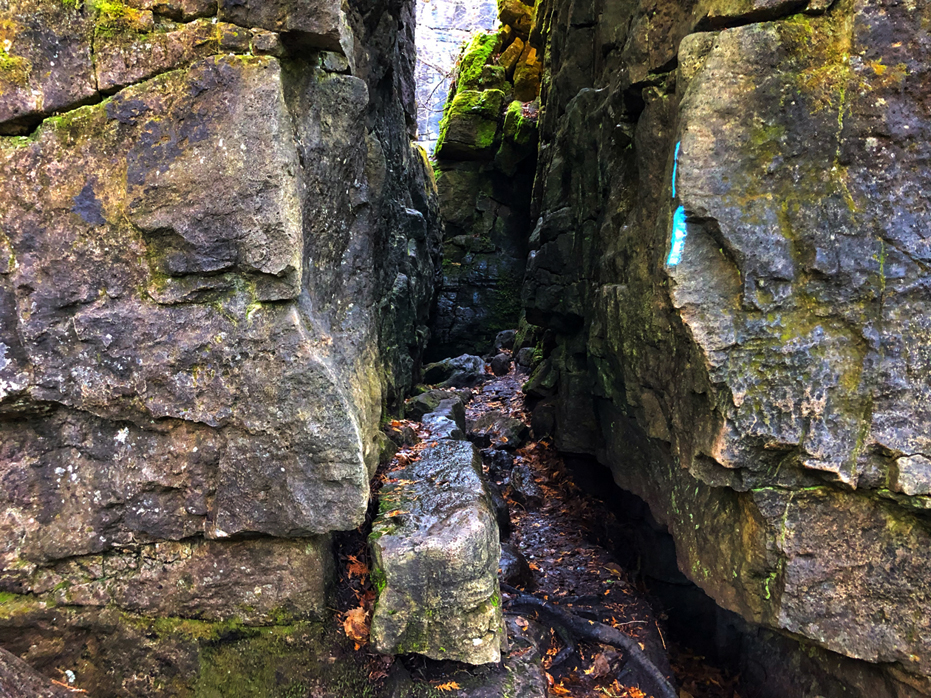
You will seem to plateau off at one point and then start downwards again into a small gully, which has an old tree right in the middle of the path. To the right is a crack in the rock, which you will see has two blue blazes on it. Yes, that is the trail. Hoist yourself up and step inside. It’s slippery in the spring and fall, somewhat dryer in the summer and slippery/icy in the winter without crampons, and as you walk forward and come to the end, the path drops about three feet straight down and while there is a bit of a stepping series of rocks to the right, there’s no graceful way down this section. Many people sit down and dangle their legs over the side while someone holds them to make sure they don’t slip when their feet touch bottom.
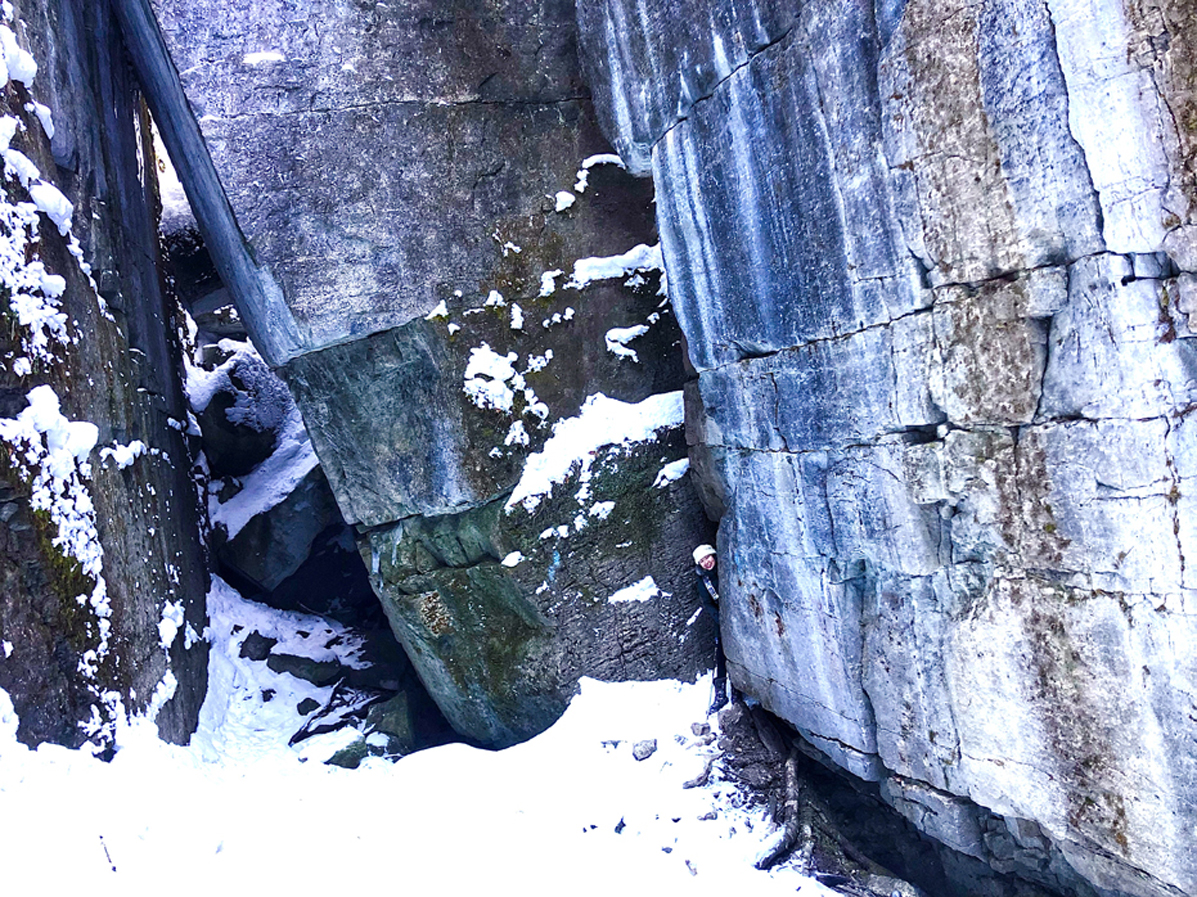
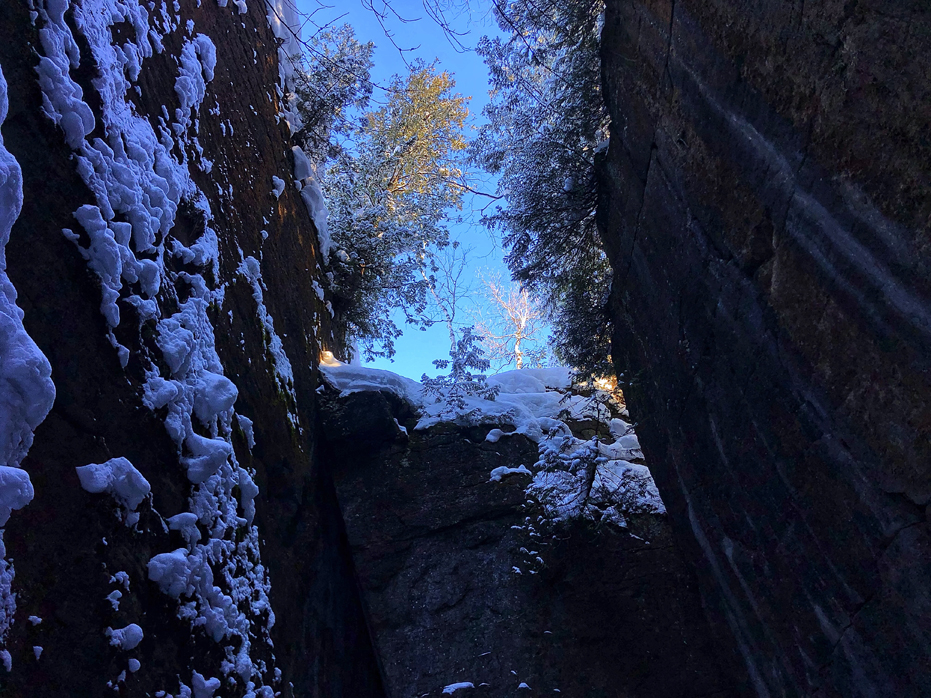
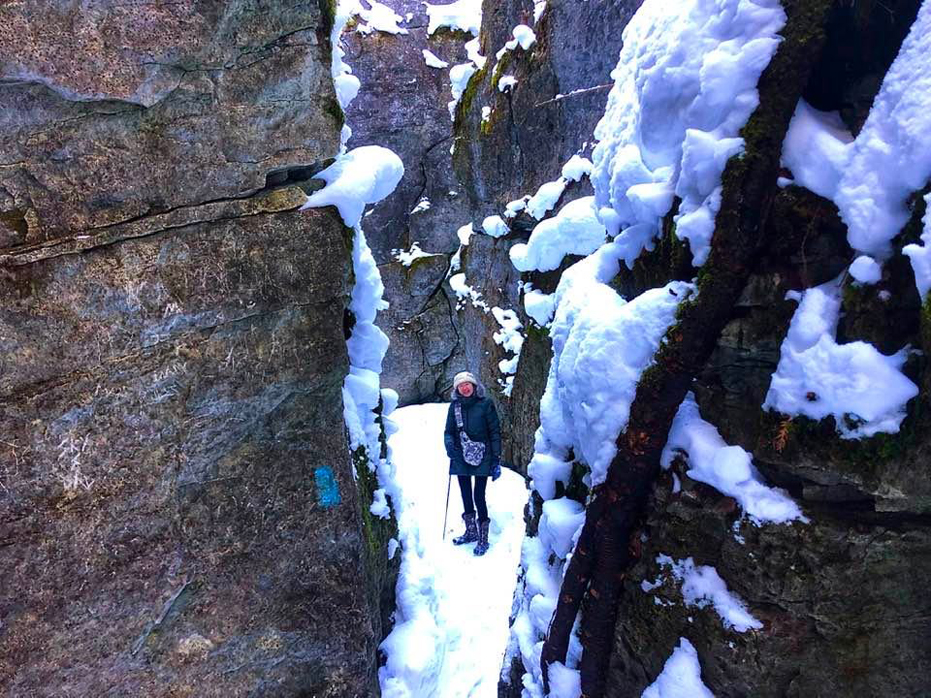
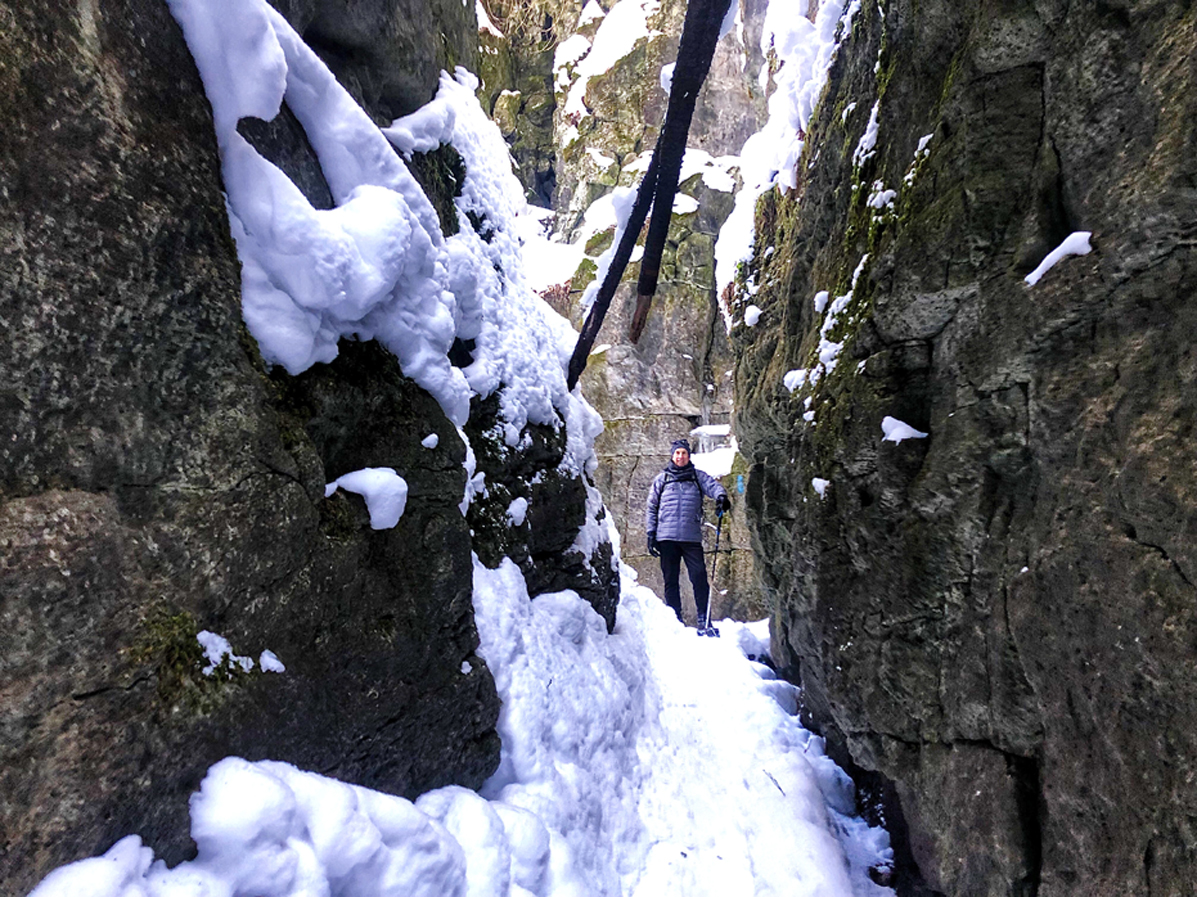
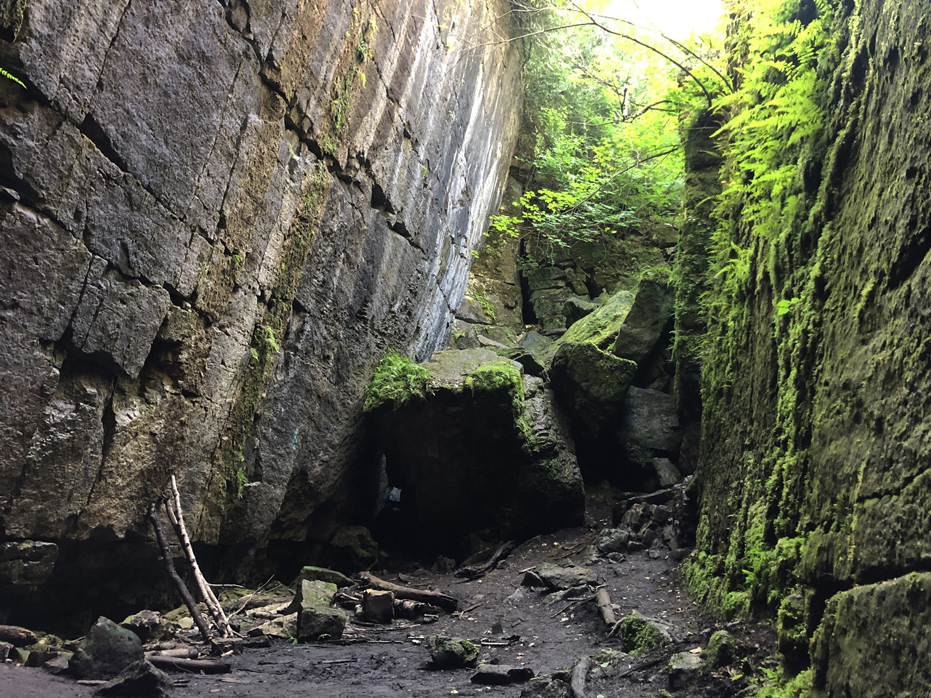
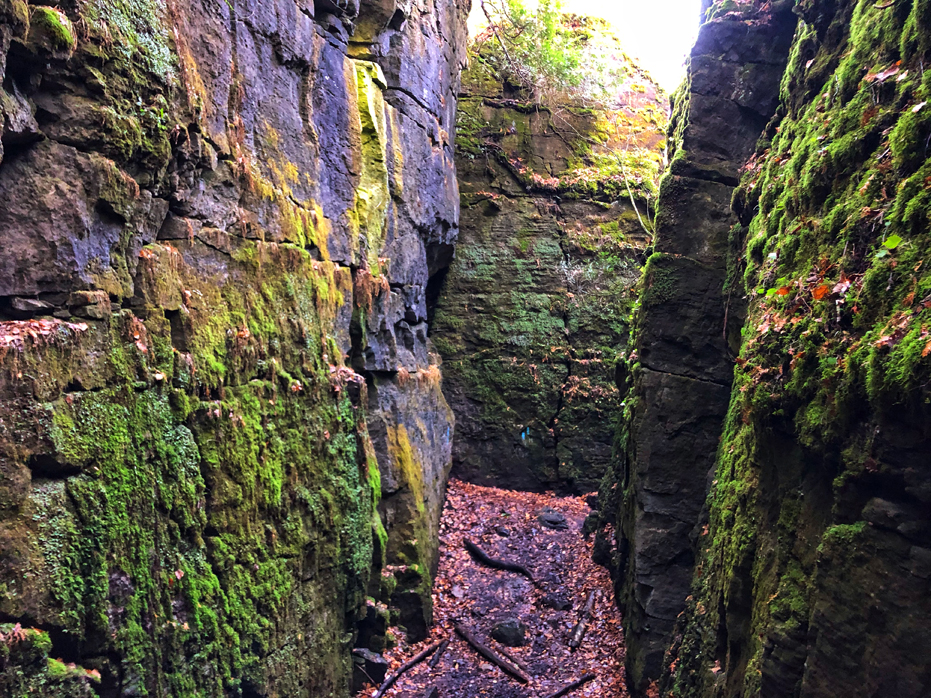
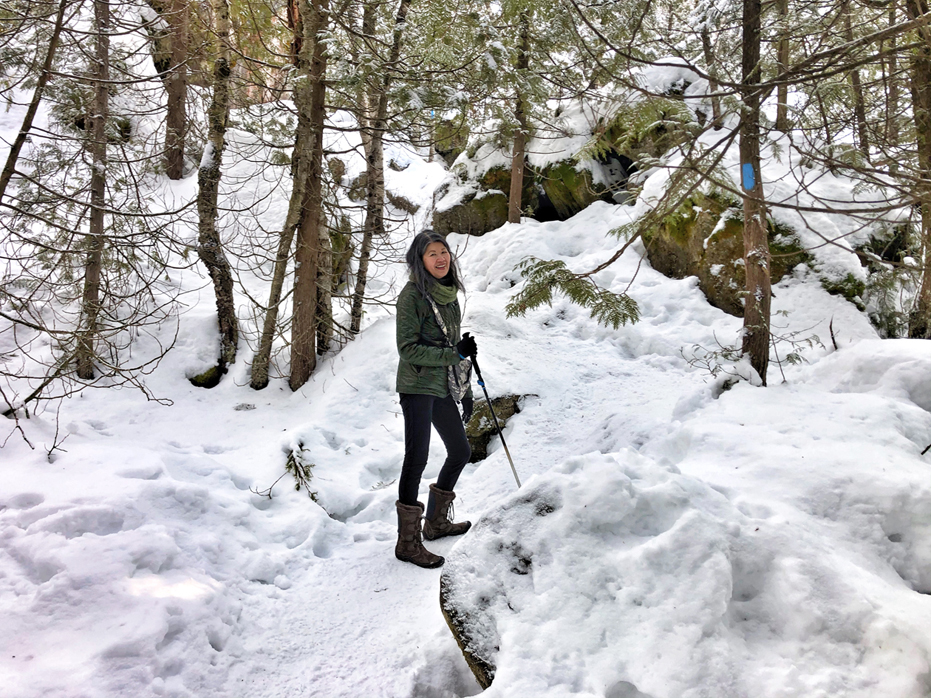
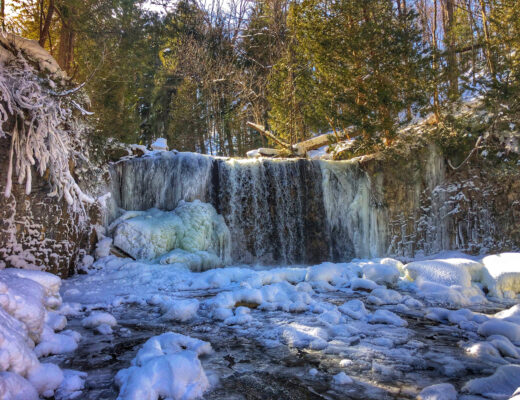
Once down from that little drop, you will be entering a huge space, within which the walls seem somehow askew. Huge sections of the escarpment have cracked and dropped at an angle but have jammed against each other to form this huge, incredible, beautiful and somewhat terrifying space. Moss and ferns cover the rock and for a moment upon first entering, I recall being just in awe of the gorgeous work nature is capable of.
(Above I have added a photo of the section I am referring to in the summer and in the winter to show the beauty).
The first time we visited, we stayed in this space the longest… at first wondering how we get out until Yim walked forward and noticed a small blue blaze on the side of the rock-face.
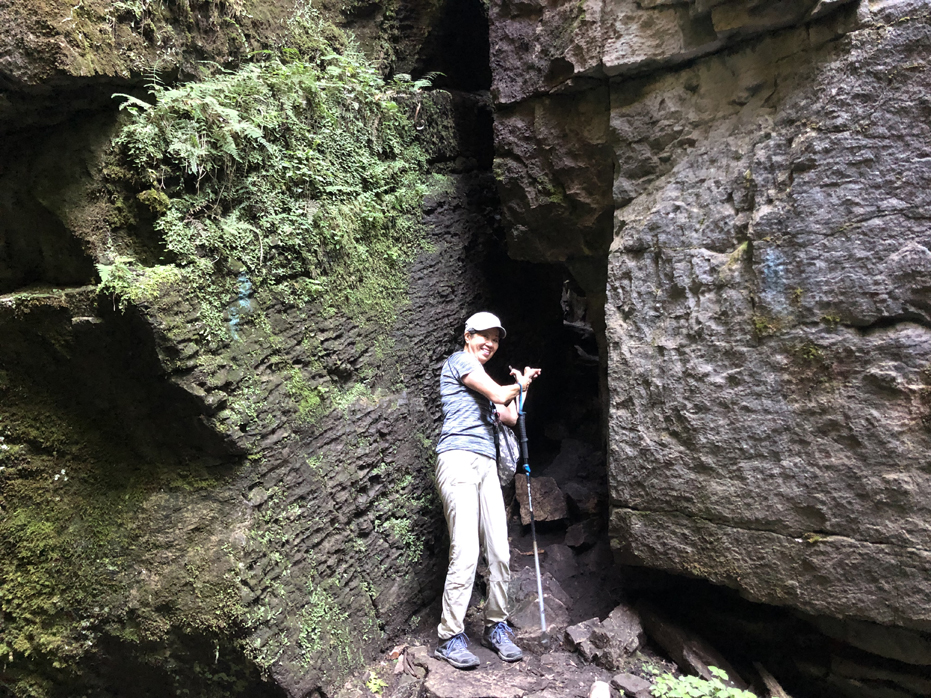
Now this section is narrow. I’m not a big guy, 155 pounds and with a small knapsack on my back, and I can not walk through here straight. I have to turn slightly sideways so be forewarned. You MUST go through this to continue hiking through these caves and fissures in the escarpment.
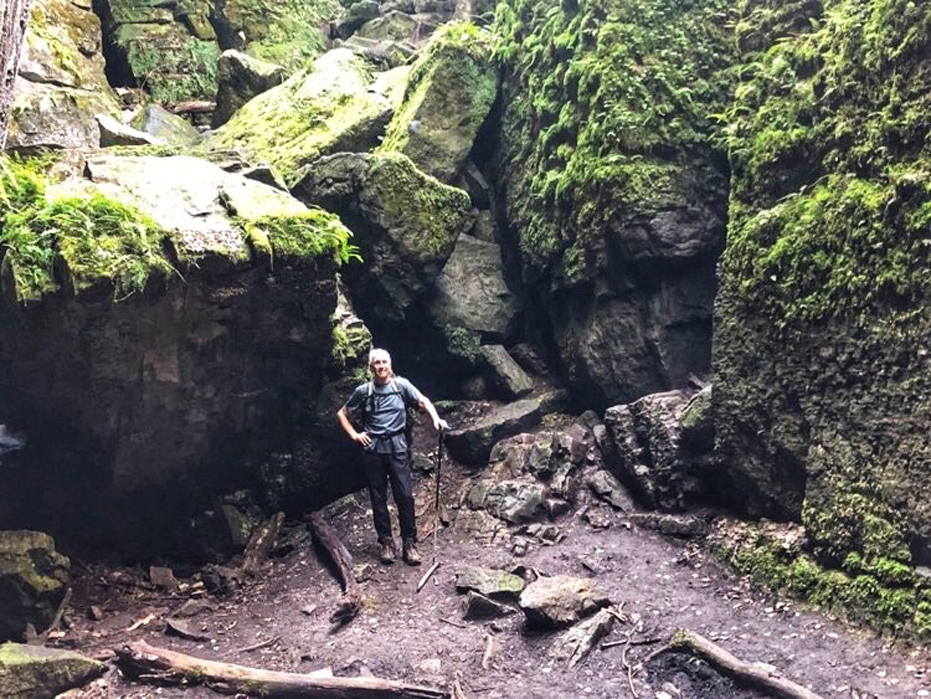
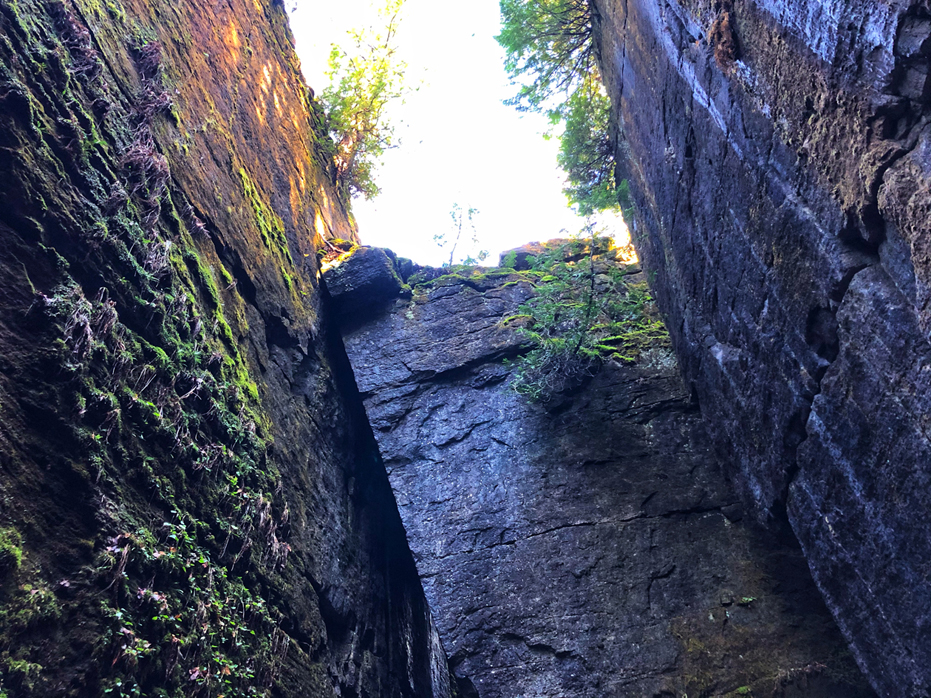
After this section, the alleyways between rock sections are easier and wider but each new chamber brings a slightly different variation of a familiar moss, stone and fern setting. In some spaces, there are trees lodged sideways above head and depending on the weather, the skies can create a brilliant juxtaposition if the skies are clear and blue.
Gradually, the trail seems to get easier – but then you come to the last surprise – the trail once again aches upwards and if you thought the section before entering the caves was difficult, this is harder. There is one section where the stone-face is so smooth and unless you get a good foot grip against an old root that is growing on top of the rocks to shimmy yourself up on, well… at this stage, you will have to find a way or go back down.
During our first winter hike here, we did go back once because without our crampons, we didn’t think we could safely make it through. Some sections were too slippery and icy
Suffice it to say, the last section to me is the hardest section and we always stay very close to each other for a hand reaching down or a push on the bum as we head up.
I’m sorry I don’t have photos showing the last section. I am always pre-occupied just making it up and back onto The Bruce Trail.
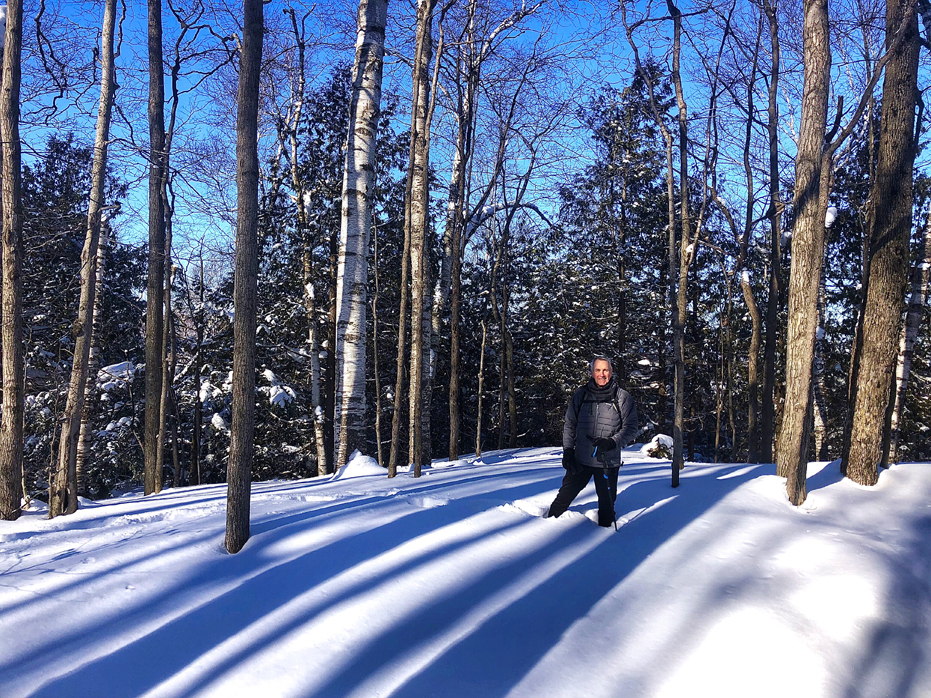
Once up onto the Bruce Trail, the hike is an easy short fifteen walk back to where you parked.
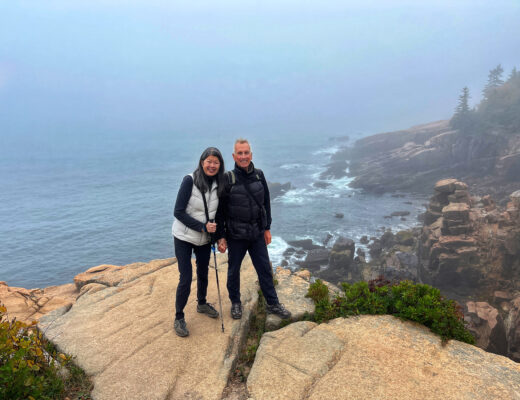
I hope these photos help you plan your trip top Standing Rock Caves. It’s worth it, even if I make it sound difficult. This is a stunning hike at any time of the year and remember, Yim and I hike this trail regularly and we are in our very late sixties and early seventies.
To see my entire gallery of photos taken over the past several years here, please visit Standing Rock Caves here .

No Comments